Blackout curtains are a long-term investment, lasting 8 to 10 years when repaired promptly. Tiny holes & minor brittleness are often unavoidable. But if left untreated, they not only ruin the style but also make the room-darkening magic ineffective. If you do not want to pay for new curtains or dry-cleaning fees, this repair guide is for you. Make blackout curtains Dubai brand-new again with some tips & tricks.
In this DIY-friendly guide by Omni Home, you will learn how to fix common problems, such as holes, rips, loose edges, and sticky backing. We will provide easy-to-follow tips and tricks to patch up, sew, or treat your curtains at home.
DIY Blackout Curtain Repair Guide
Did the blackout fabric accidentally get stuck in your pet’s claws and rip? Or has the coating become sticky in the dryer’s heat? This guide will teach you how to mend and repair your curtains Dubai at home.
Key Steps To Take Before Repairing Blackout Curtains
Want to minimize hassle while repairing your curtains? Follow these 4 preliminary steps before starting your at-home curtains repair project.
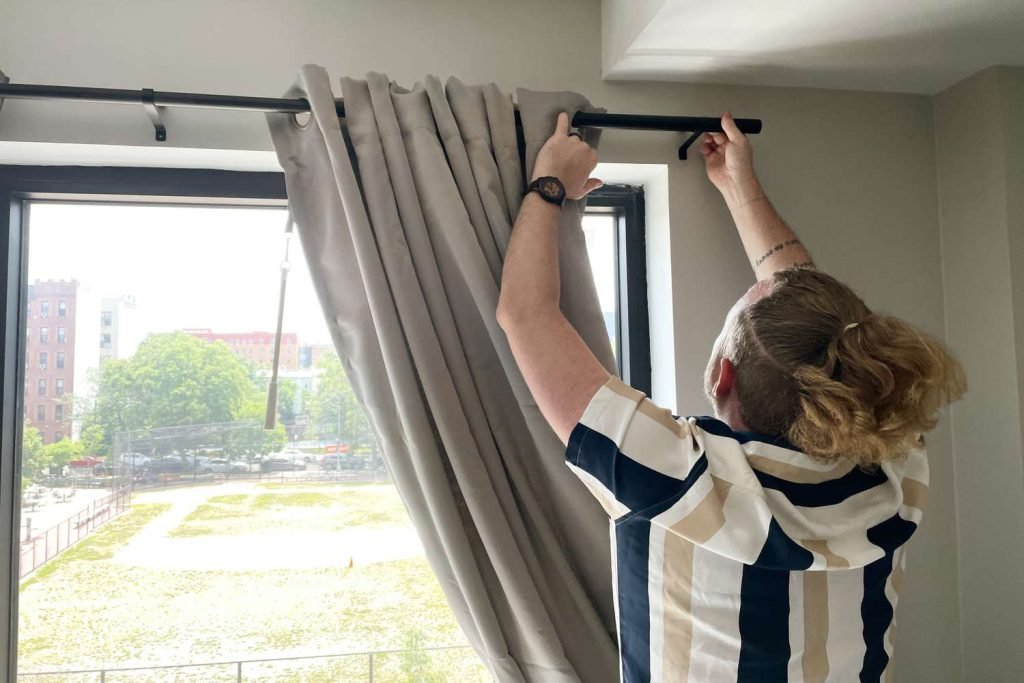
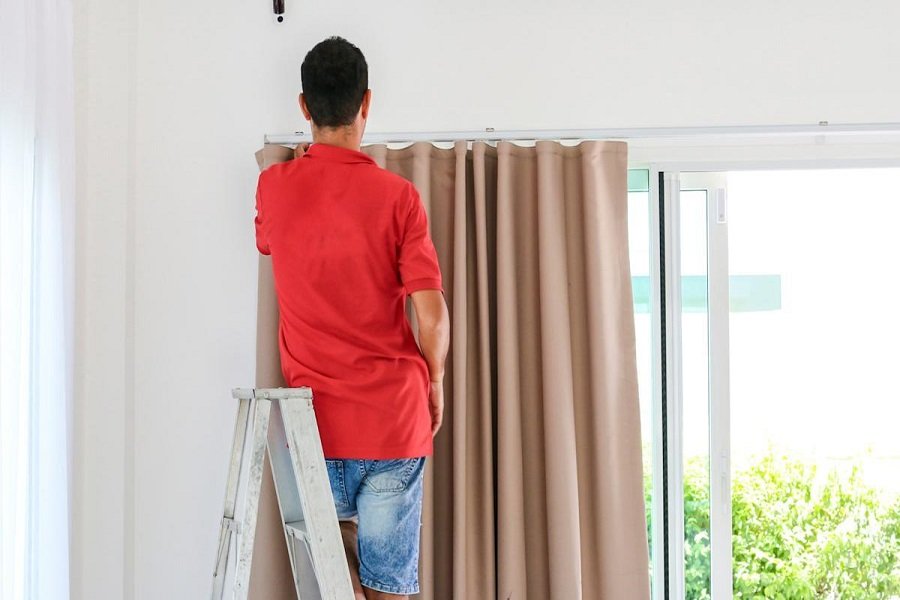
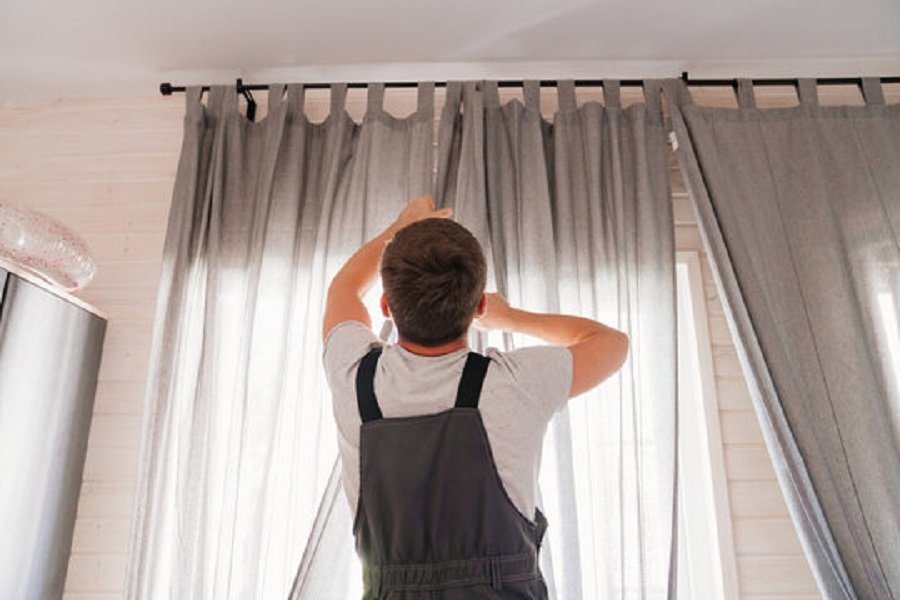
Step 1 : Take Off The Curtains
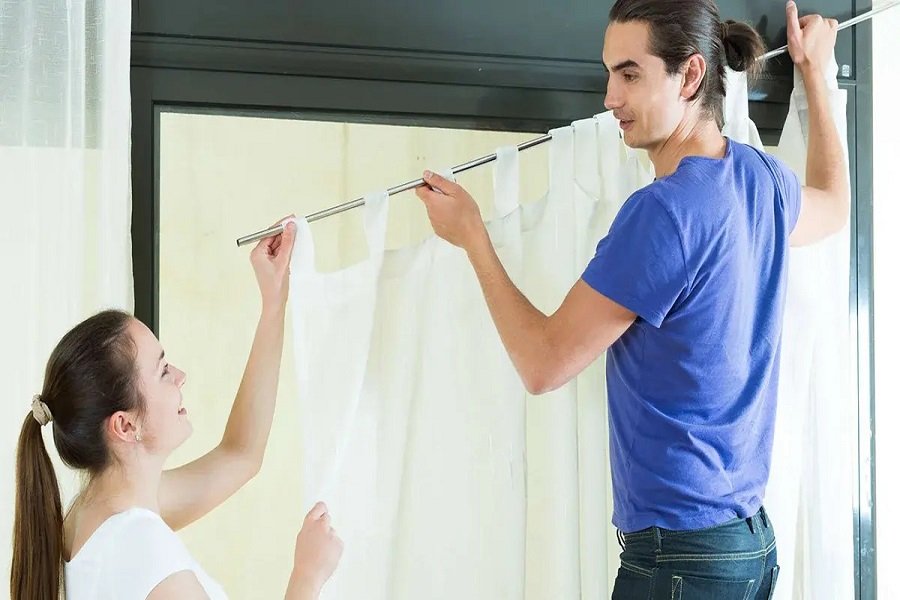 To prevent further damage, immediately remove the curtains from the pole and remove the hardware, such as hooks and rings.
Step 2 : Inspect The Curtain Damage
Lay the blackout fabric on a flat surface and assess whether the damage is on the face fabric or on the latex backing.
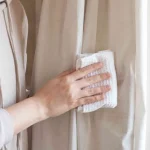
Step 3 : Properly Clean Them
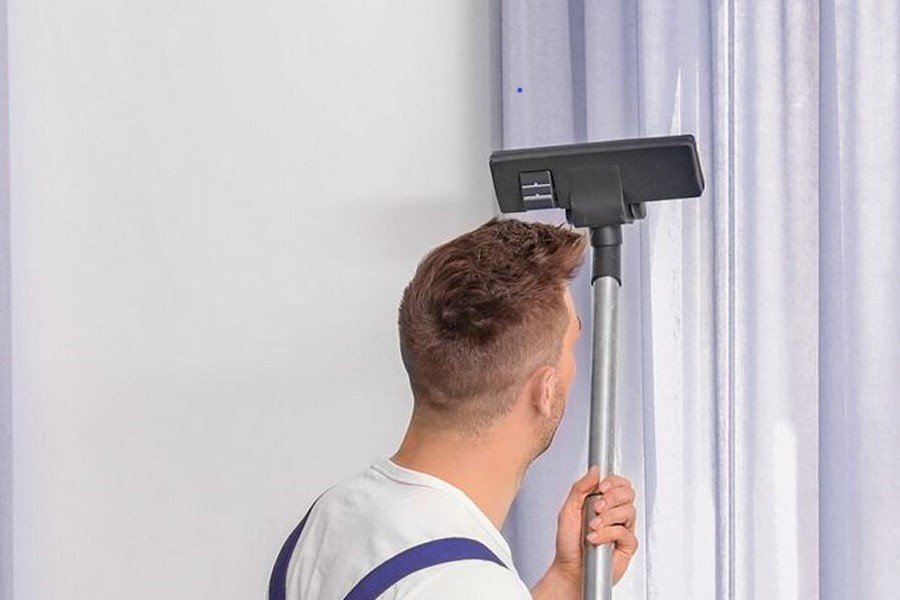
Wipe the curtains (especially the damaged area) with a clean cloth to remove accumulated dust or any stickiness.
Step 4 : Gather Materials

Here are the essential tools for mending blackout curtain damage:
| Necessary Tools | Their Purpose |
| Small Needle (recommended size: 14 to 16) | Mend curtain gaps and rips without making large holes. |
| Matching Polyester Thread | To make durable & invisible stitches |
| Similar-Looking Fabric Scraps | Patch up tears and holes |
| Fabric Paint | Hide the curtain’s pinholes |
| Fusible Bonding Table | Fix distressed seams |
| White Glue | Addressing damage without sewing |
| Liquid Latex | Repair the cracked curtain backing |
Step 5 : Test First
 Apply the fabric glue or paint (whichever you are using) to a small patch and check for a reaction.
How To Repair Small Holes in Blackout Curtains
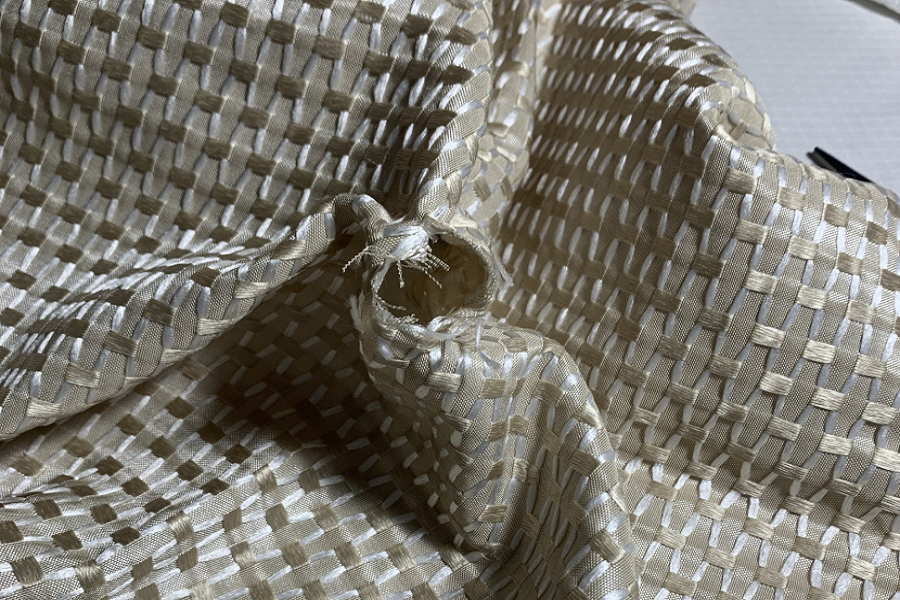
Long-term UV exposure and sharp objects can cause any material to degrade. And blackout curtains are not an exception. If not cared for properly, blackout curtains develop pinholes and gaps.
The good news is that such holes are completely repairable by following these 2 techniques:
Method # 1: Patching Up Holes
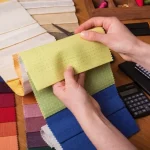
This approach is ideal for your curtains if the holes are bigger than an inch. But first, get fabric scraps that resemble your curtains. Ideally, you can find the most identical material from your drapery supplier, but you can visit thrift stores for similar-looking dead-stock fabrics.
Next, you can either stick, sew, or iron the patches to your blackout fabric.
- For the adhesive method, apply your white fabric glue to the patch and firmly press it to the affected area of your blackout curtains.
- For the sewing method, stitch the corners of the patch material to the curtain fabric.
- For the iron-on method, add the patches to the back of the curtain material and press them to fuse.
Method # 2: Applying Paint Or Sealer
 Tiny curtain holes, also called pinholes, are the easiest to fix.
Simply apply fabric paint, a black marker, or a liquid sealant to the curtains. This will hide small light gaps and make the dim-out curtains appear unblemished.
How To Mend Tears & Rips In Blackout Curtains
If you usually open the blackout curtains too forcefully, this rough handling can also cause the fabric to rip. We recommend stitching for the most durable repair. But if you don’t have impressive sewing skills, worry not, because we’ve also brought a no-stitch method for restoring curtains.
Sewing Rips In Blackout Curtains
- First, lay the blackout fabric (lining side up) and align the ripped parts.
- Second, with the invisible stitch method, make a small stitch on each side of the ripped fabric.
- Lastly, make a few seam stitches and cut the thread, and voila, you’ve just mended your curtains.
No-Sew Curtain Repair Tips
- Get a high-quality fabric glue and apply a thin layer on one side of the torn curtain edge.
- Align both edges without overlap, and press them together.
- Ideally, place a heavy object on top to allow the glue to make secure bonds, and let the curtains dry for at least 24 hours before installation.
How Can You Repair Loose Curtain Seams
If your blackout curtains were poorly constructed, the cost you saved becomes noticeable in loose seams. The weak thread will rip easily under weight, giving your curtains an unkempt look.
Reinforce Blackout Curtain Seams
 With a fusible bonding tape, you can make the seams look clean again. And this does not require complex sewing or messy adhesive application.
- Get heat-activated bonding tape and place it on the inside of the separated seams.
- Next, cover it with a pressing cloth (cotton cloth or even a napkin works) and iron over the curtain bonding tape.
- Remember to set the iron to one or two dots and press for only 10 seconds to prevent further damage.
Fix Fraying Curtain Edges
Do your blackout curtain ends look worn out? Learn how to return the curtains to their original beauty.
- Trim the frayed seams of the curtain fabric in a neat, horizontal line.
- Secondly, re-hem the distressed edges by sewing, applying a sealant, or ironing on fusible tape.
How To Repair Blackout Latex Backing
Latex-backed room-darkening curtains stand strong against outdoor light. But this type of dim-out curtain also requires extensive maintenance. Reaction with heat (from the iron or dryer) and trapped moisture can make the backing fragile.
- Dip foam in liquid latex and apply a thin layer over the ruined area.
- Allow the latex to set and cure completely before reinstalling.
Caution: This method only works if the latex backing is slightly cracked and may not fix major damage.
When To Replace Your Blackout Curtains
Here are some types of blackout curtain damage that are beyond repair:
| Damage Type | Result | Final Verdict |
| The backing is peeling in large portions or is crushed | The light-blocking effectiveness decreases | Replace |
| Mold growth on the blackout curtains. | May cause sensitivities and health problems | Clean (if still possible) or Discard |
| Big rips and shreds | Impact curtains’ structural integrity | Not worth mending |
| Opaque fabric weakens due to heat or sun damage | The curtains may shred easily | Replace the curtains |
To Sum Up:
Although one expects well-made blackout drapery to last several years, its life expectancy can dwindle if minor damage is not repaired promptly. Here, we discussed how to touch up the curtains and restore their appearance and functionality. You found out easy DIY-friendly methods to fix holes, splits, ripped seams, and backing damage. We hope this comprehensive guide helped you repair your blackout fabric curtains at home.