Blackout curtains offer an excellent solution to block Dubai’s intense Sun. They create a perfectly dark environment for your morning sleep and after-lunch nap. Imagine receiving your blackout curtain parcel and finding that the curtains have creases everywhere. The dreams of your precious sleep, instantly crushed.
To avoid this situation, we brought a complete guide on how to remove wrinkles from blackout curtains Dubai at home. Our professional curtain ironing guide will help you achieve a crisp, high-end look without damaging the blackout coating. Read till the end for the best no-iron alternative.
Why Blackout Curtains Require Special Care?
Ironing blackout curtains with improper techniques can destroy their light-blocking magic, rendering them basically useless. Understanding why blackout curtains require gentle handling can save you an expensive trip to the dry cleaners.
Why shouldn’t you press blackout curtains like unlined linen curtains or wool curtains? Let us break it down. Most dim-out curtains feature a unique “3-pass” construction. Meaning: three foams are applied for maximum UV blockage. This foam can crack and deteriorate if exposed to a really hot iron. They have very sensitive acrylic coatings that may melt when exposed to hot temperatures.
Below, find a safe technique for ironing new curtains perfectly and keeping them looking fresh.
How To Get Wrinkles Out Of Blackout Curtains | Just 4 Steps
Below are the techniques for perfectly pressed blackout curtains in under four steps. These methods are suitable for ironing curtains at home and provide professional-like results. You do not need any fancy equipment or experience with curtains. Check the tools that you will need for the process.
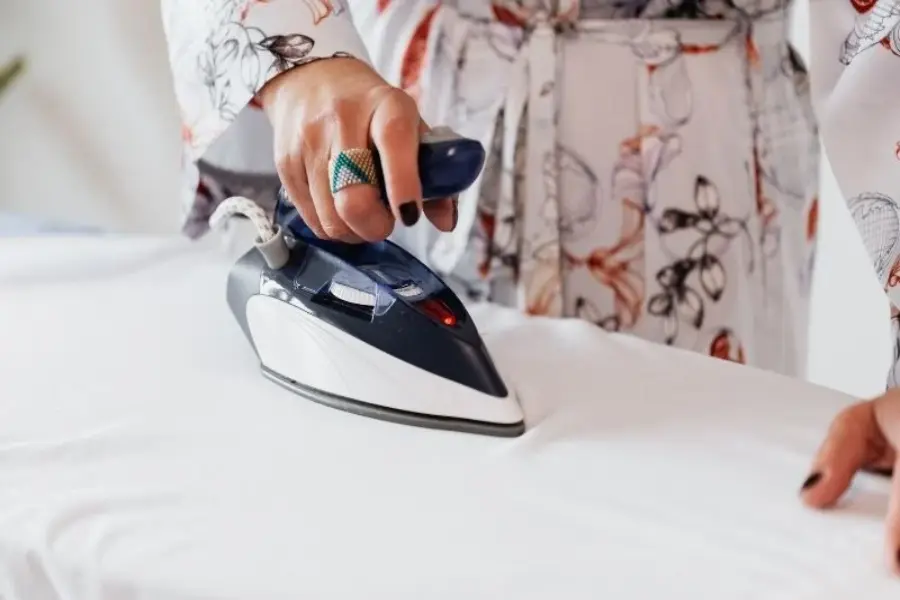
1. Iron With Adjustable Heat Settings

The iron should be set to low (usually indicated on the iron dial).
2. A Pressing Cloth
A clean cloth that would be placed on top of the curtains. You can use a pillowcase or a bedsheet.
3. Large Flat Surface
This can be your ironing board or any other large surface to lay the curtain fabric flat.
4. Spray Bottle

Bottle with distilled water and a spray nozzle to mist your curtains when ironing.
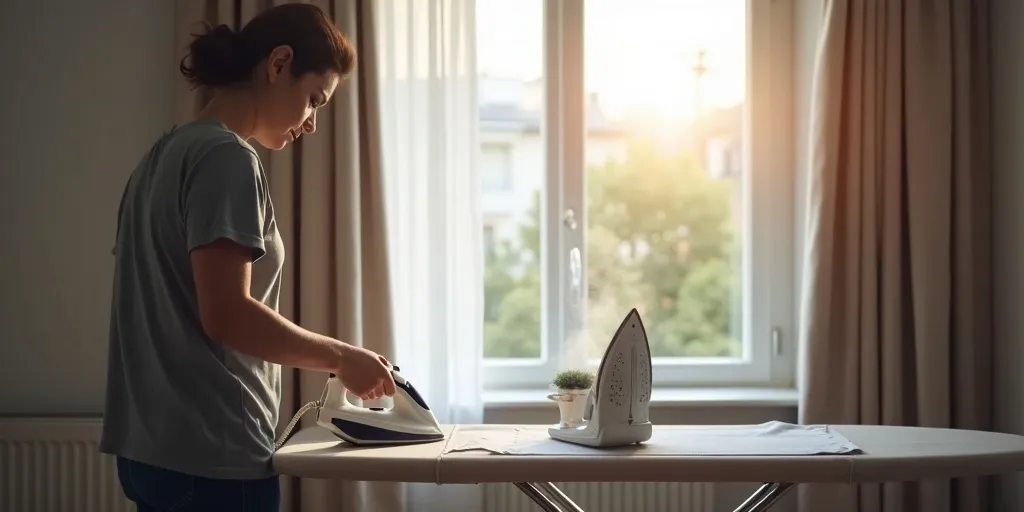
Step-By-Step Blackout Curtain Ironing Guide
This is the easiest technique for pressing blackout drapes, and it takes roughly 20 minutes.
Step 1: Preparation

First, check whether your curtains are suitable for ironing. Read the manufacturer’s care label and look for the “cool iron” symbol. You may see this sign on 100% polyester and polyester blend curtains. But natural materials like velvet blackout curtains are strictly not suitable for ironing.
Important Tip: Iron a small patch of the curtains to check for reactions like rubber lining melting or fabric cracking.
Step 2: Orientation & Placement

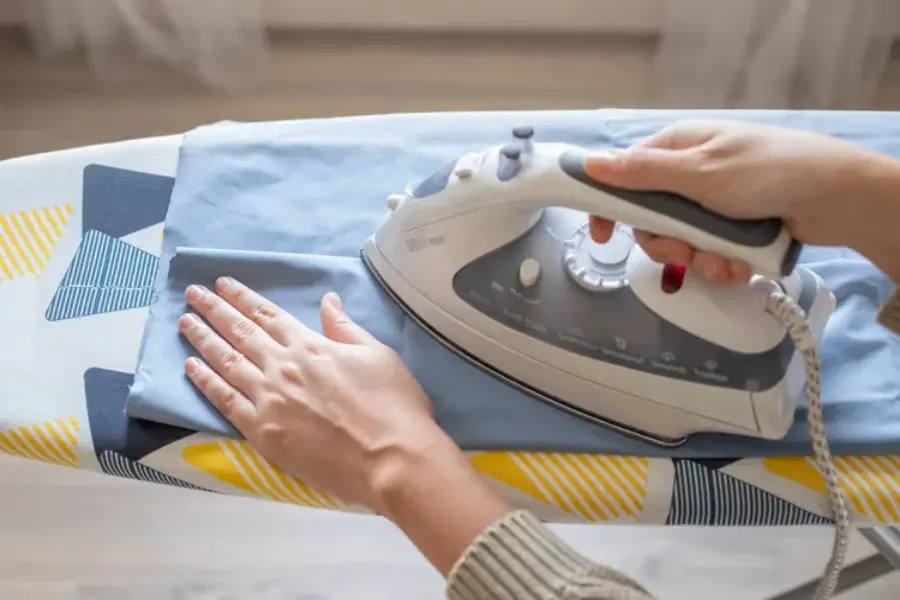
Lay the curtains on the flat board with the blackout lining facing downwards. You’ll iron the decorative side of the curtains and not the thermal coating.
Place the pressing cloth on top of the curtains. This will act like a protective barrier, and you’ll be ironing through this cloth to prevent shiny marks on the curtains.
Step 3: Ironing Technique For Blackout Curtains
Set the iron on low or synthetic settings (1 or 2 dots on the dial).
Work in small sections and move the iron in strokes, gently. Don’t leave the iron on one area for more than a few seconds, as it can cause scorching.
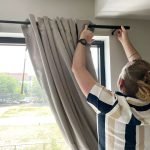
Step 4: Hang Curtains Immediately
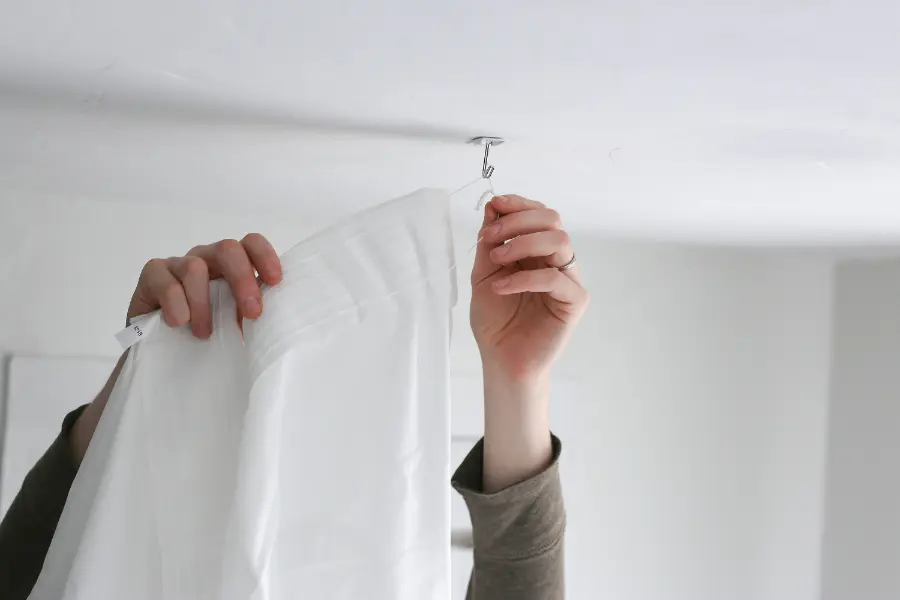
Once you have ironed all sections, hang the room-darkening curtains. You have done your job, and now let gravity do its thing and release the wrinkles.
No-Iron Method to Unwrinkle Blackout Curtains: Steaming
Want to learn how to get creases out of blackout curtains without a traditional iron? Try out the steaming method for flawless results. The best part: you can steam drapery while it is hanging!
Here is a step-by-step guide on steaming blackout-lined curtains.
- Hang the blackout drapes on the curtain rod before steaming them.
- Add water to the hand-held steamer’s cartridge and let it heat up.
- Maintain a 2 to 3-inch distance between the steamer and your drapery.
- Pull on the curtains and steam in long sections from top to bottom.
- Let the thermal-lined curtains dry completely.
This method is suitable for routine maintenance and might not work for deep wrinkles.
Caution: Do not steam the blackout coating directly, as it may cause it to peel or bubble.
1. Troubleshooting Common Curtain Ironing Issues
| Issues | Their Solutions |
| Deep creases |
|
| Sticky Residue (accidentally burning the lining) |
|
| Water Stains |
|
Pro Tips For 5-Star Hotel-Like Results | Dry Cleaners’ Secrets
Learn three tips and tricks to achieve a hotel-quality finish while ironing curtains at home.
Tip # 1: Add a weight to the edge of the blackout curtains after ironing & hanging them. This will keep the curtain material taut and prevent future creases.
Tip # 2: Memory-train the blackout curtain pleats by making the fold and tying them loosely for a while.
Tip # 3: When storing, fold the blackout curtain material loosely to avoid creating stubborn creases.
Conclusion:
Smooth and crisp curtains upgrade the entire room’s look, adding a luxurious touch. We explained how you can prepare the fabric, place, and press your off-the-shelf blackout drapes. We also guided you on how to iron blackout curtains without taking them down. You also found out some common pressing mistakes and their solutions. By following our simple method, you can prevent long-term issues or the hassle of replacing curtains.